
How To Create A Panning Tree Movement
If you follow me on Instagram, @r4s, you can see how some of my tree shots have a panning movement.
There are actually two different ways I go about creating this effect.
One of them is probably the easiest and that is through the camera itself.
The second would require some editing in photoshop, although it won’t take that long.
In Camera
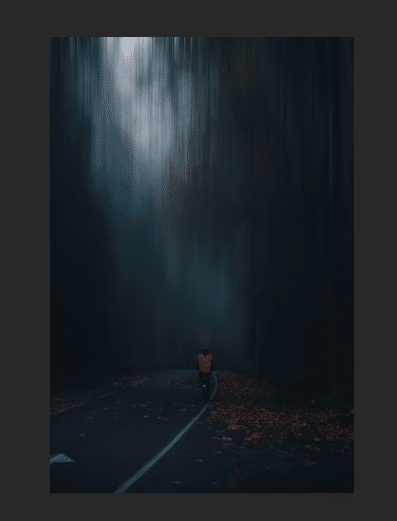
Though this might be the easiest way to capture the panning trees, it’ll take some skill too.
Settings really range on how abstract you want your photos to come out.
My settings on average are:
- 2.8 or higher (1.8 or 1.4) because you want as much as light in and nothing will be in focus anyways.
- ISO I leave at 100 or you can always bump it up to your liking
- Exposure is key here at around 1/4 through 1/50 of a second and I will let you know why.
While you got your subject in place, which most likely are trees, then you’ll want to experiment.
When pressing the shutter button, you can either move your camera from side to side or up and down to get that panning motion.
As mentioned before, experiment to see how abstract you wan your shots to look like.
You can also try using a zoom lens to zoom in and out.
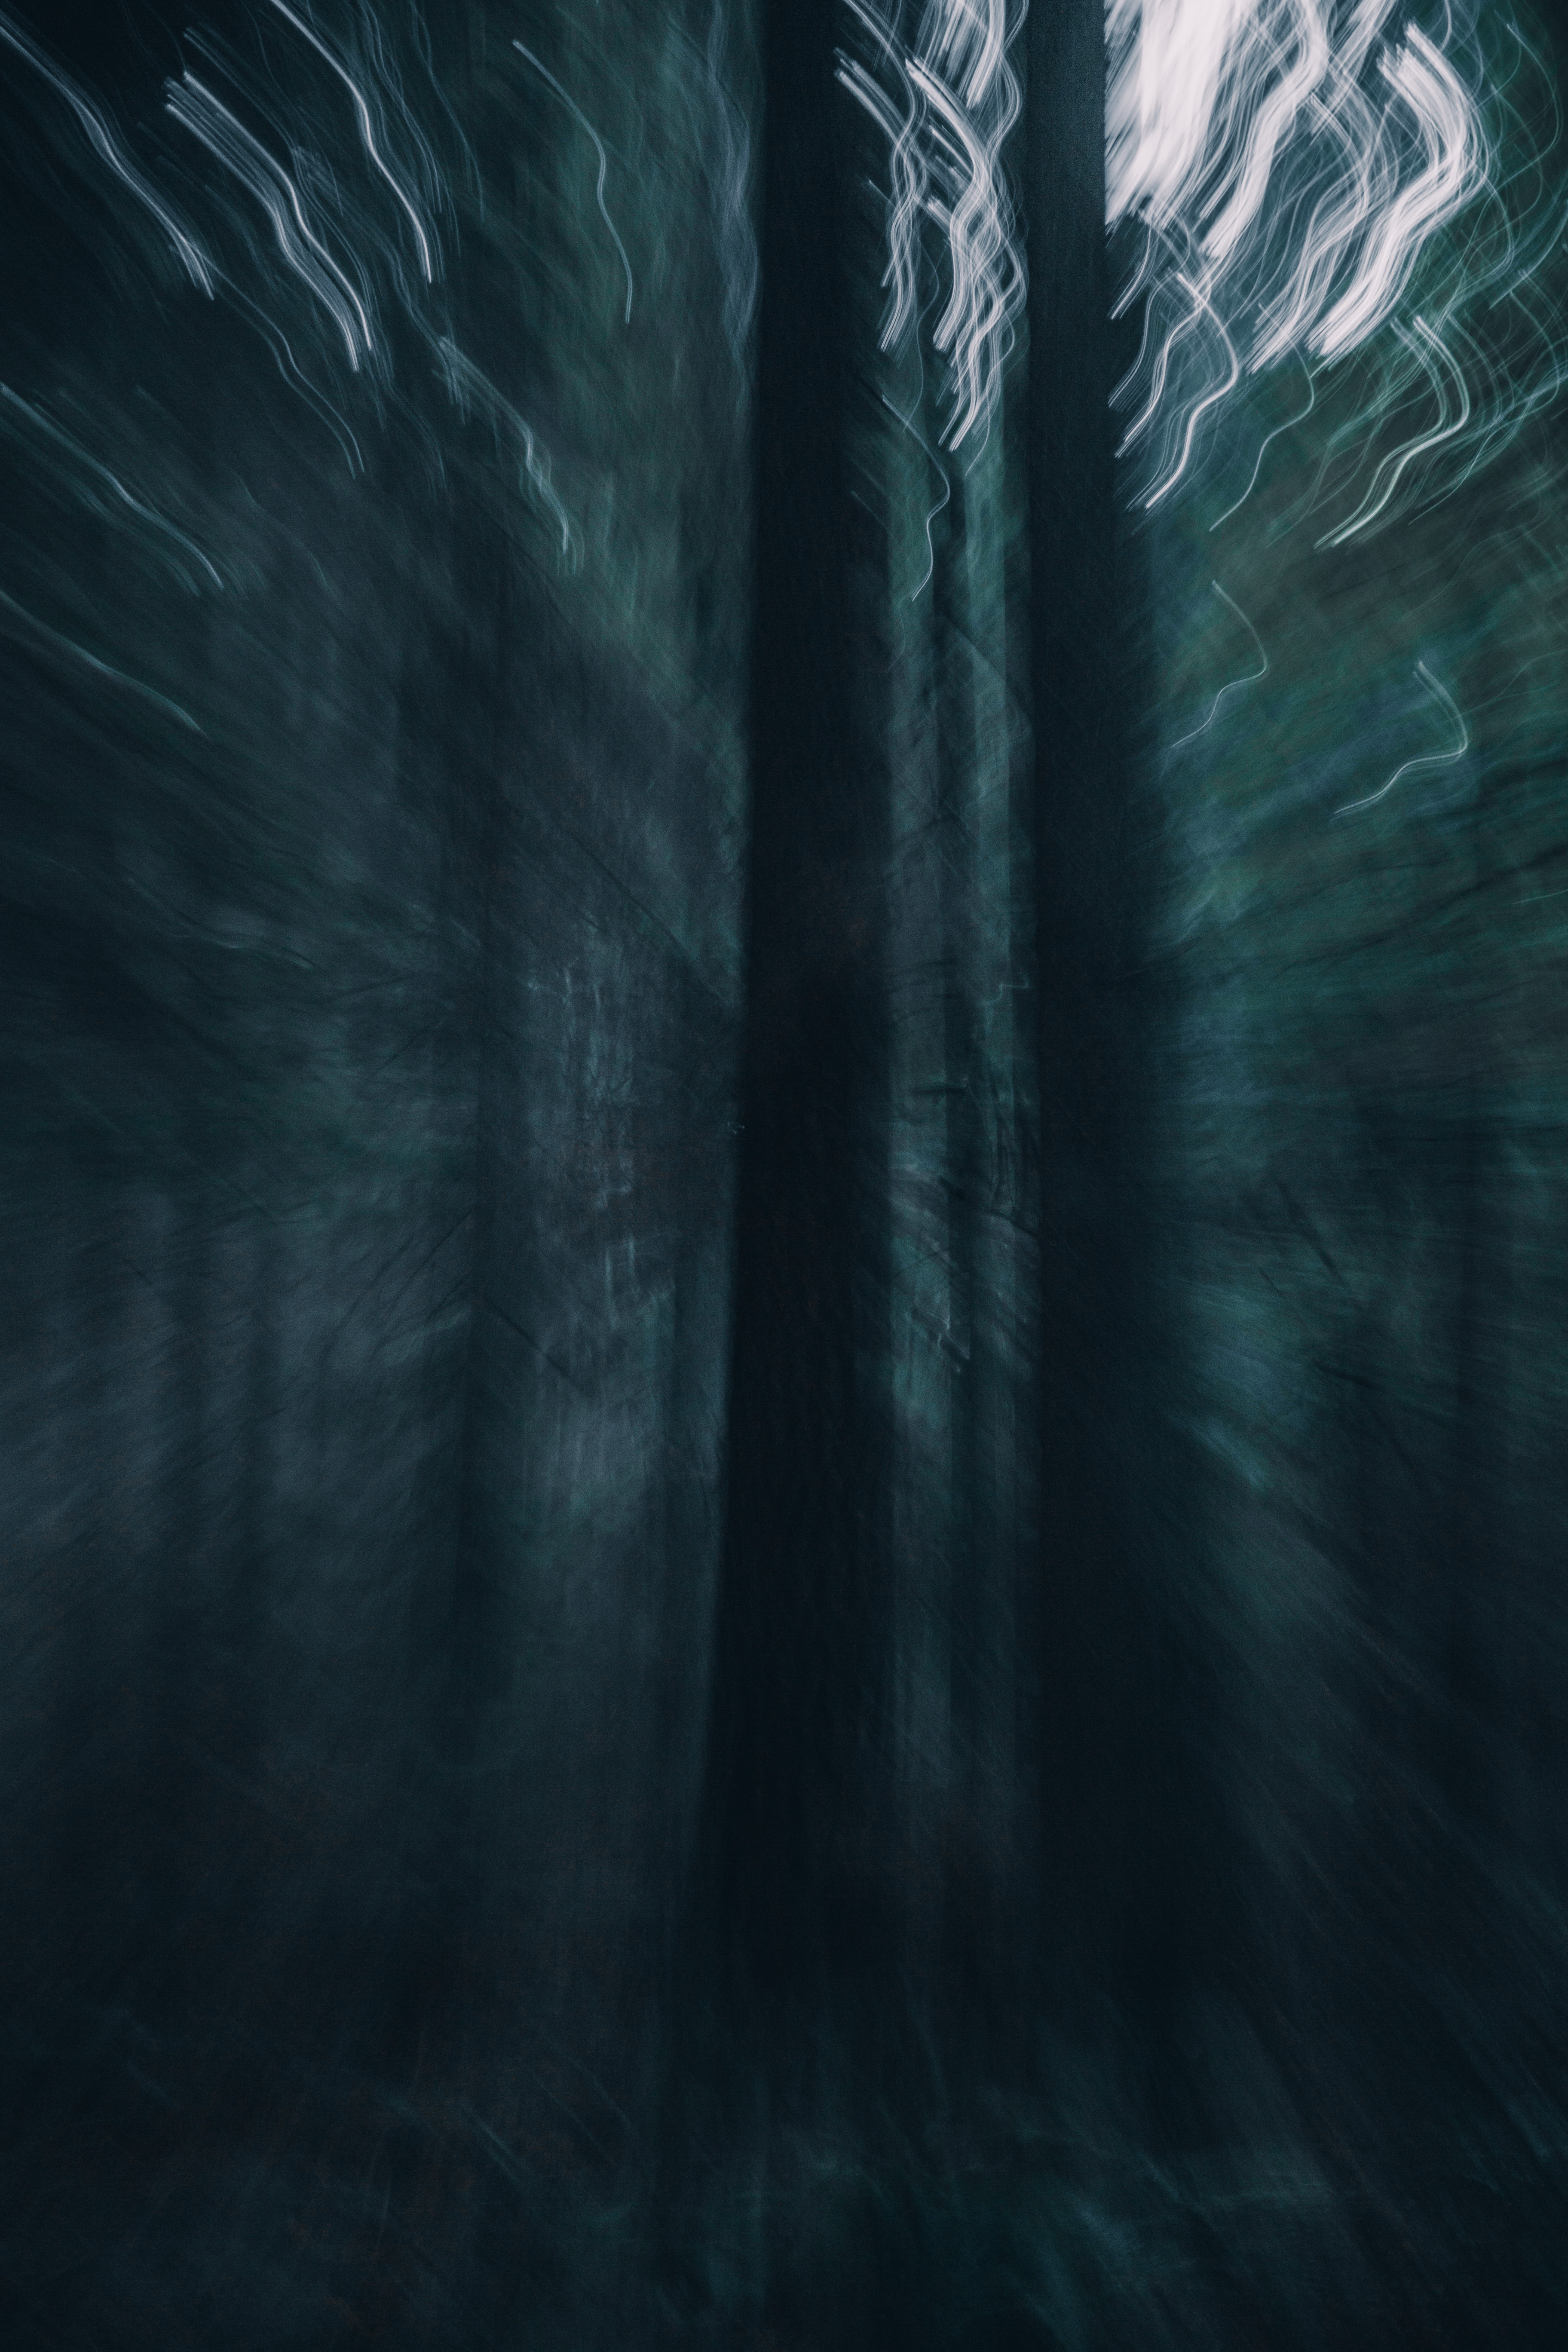
This also creates a unique movement as shown below.


Photoshop Technique
After I’m done post-processing the colors of the photo to my liking in Lightoom, I bring it to photoshop.
There are several ways to go about this technique, but I’ll show you my own way.
These are all done on my Macbook, by the way.
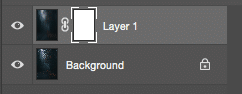
Starting off, duplicate the image ( Command + J ).
Make sure the duplicate image is highlighted, so that you can go on top to Filter —-> Blur —-> Motion Blur
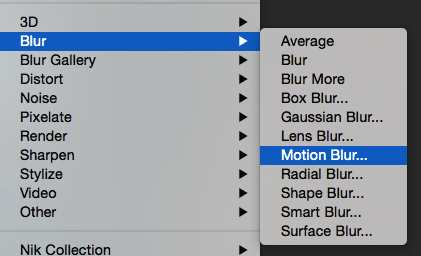
A screen will appear and you’ll want your angle at 90 degrees and motion at around 656 depending on your preference.

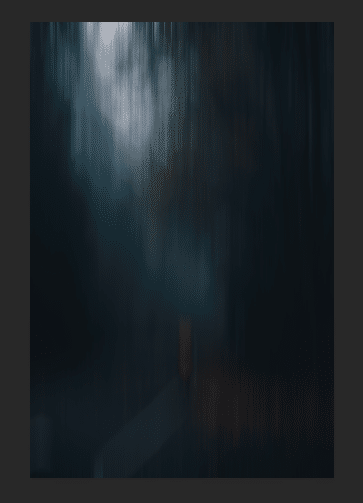
Press OK and your photo should look something like this.
Add a masking layer to the duplicate, motion blur image and make sure the brush tool is selected.
As you can see above, the masking layer is white and you’ll want your brush tool to be the color black.
Keep in mind, white conceals, black reveals.
In this case, black will reveal the original photo, which we want.
My settings are shown below for the brush tool.
![]()
I’ll usually paint the foreground to reveal it and leave the background all blurred out.
If by any chance you paint an area where it is not intended to, just switch from black to white and paint to conceal the area.
For me this will actually be perfect and I’m all ready to share my image.
